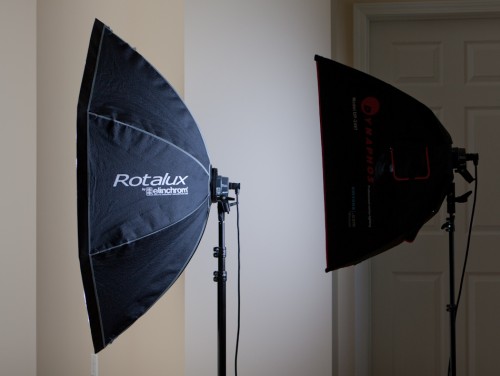
I have a 53″ Rotalux that I use for my main light but I wanted another softbox (with grid) to use for rim lighting or when I don’t need something so large. As seen in my other blog posts, I have a 2×3 Amvona softbox, which has already been through two iterations (Mod1, Mod2) so why not go for one more. The third time’s the charm!
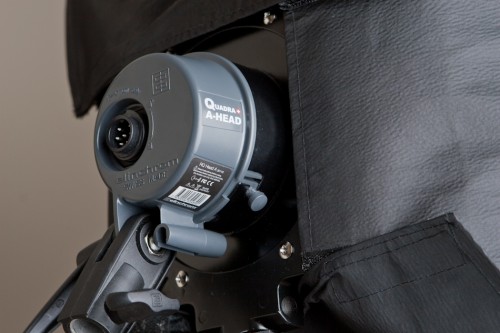
However, no one makes a Quadra speed ring, so I had to. The Quadra isn’t designed to support heavy modifiers but luckily, my Amvona softbox connects to the light stand via the main frame/bracket of the softbox, not the strobe.
I should also note that this isn’t as “DIY” as my other posts. Well, it might be for some, but I didn’t have the machinery to make it how I wanted so I had to turn to a pro for a little help.
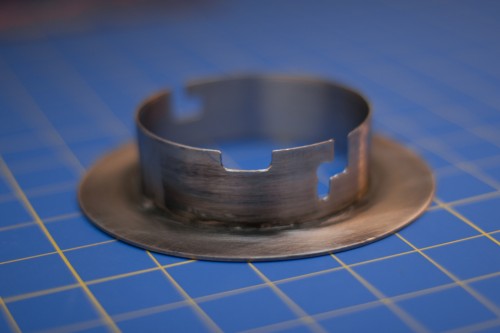
My first plan was to get a 1″ strip of aluminum (from Lowes), cut the Quadra notches in it, bend it into a circle, then have the welder weld this cylindrical piece to the flange piece (that I would have him make). I made the aluminum piece and it turned out OK, the circle wasn’t quite a circle. I took this to my welder/machinist friend but he recommended we start from scratch using steel. I was game since I knew it would be perfect. They cut the cylindrical and flange pieces out on a laser, then rolled the cylindrical piece into a perfect circle. He welded the two pieces together from the bottom then ground the welds flat.
I then cut out the notches. I first made a template using masking tape and the original Quadra reflector. I lined the edge of the tape up with the edge of the cylindrical part of the reflector (the outer side) and wrapped it around. Then I used an X-Acto knife to cut out the notches, tracing right along the existing notches in the reflector. After that I just transfered the tape to the speed ring and colored in the notches with a Sharpie. Cutting out the metal is easier than you think. For any radiused corners I just used a drill. Then I used a cut-off disc on a Dremel to cut the flat parts and finished it up with a Dremel Tungsten Carbide Cutter (#9903 or 9910). I used the tungsten cutter to cut out the stuff I couldn’t get to with the cutting disc, to deburr, and to round out any sharp corners. Finally, I gave it a quick sanding with 100 grit.
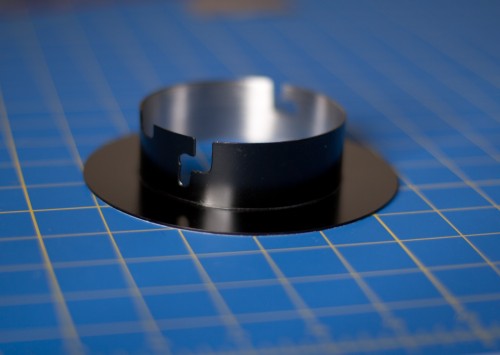
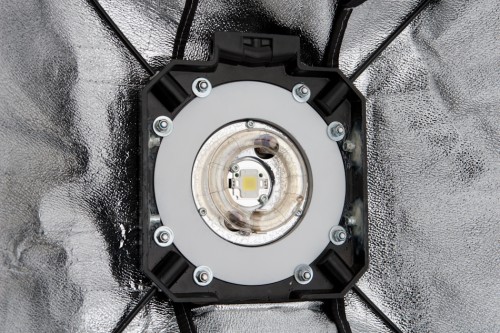
I wiped it down with rubbing alcohol then got ready for paint. I tapped off the inside of the cylindrical part as it was a perfect fit on the strobe and paint would’ve made it too tight of a fit. Also, the paint would just wear off with each use. I primed the speed ring then spray-painted the front part (the part inside the softbox) white, and the back side semi-gloss black. I painted the white part first and let it dry for a few hours so it could sit with this side to the bottom when I painted the back part.
I couldn’t be happier with how it turned out!

Leave a Reply