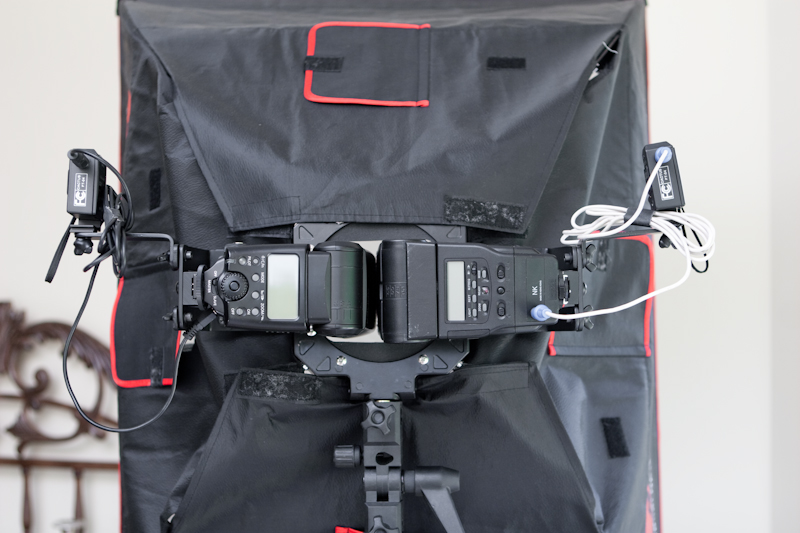
As promised, here is the dual speedlite bracketry for the Amvona softbox. The single speedlite version was more than adequate for most situations but I wanted something that could easily overpower the sun behind a model.
Materials used:
Tools used:
(you could get by without the RotoZip and chop saw but they expedited the process so I used what I had available.)
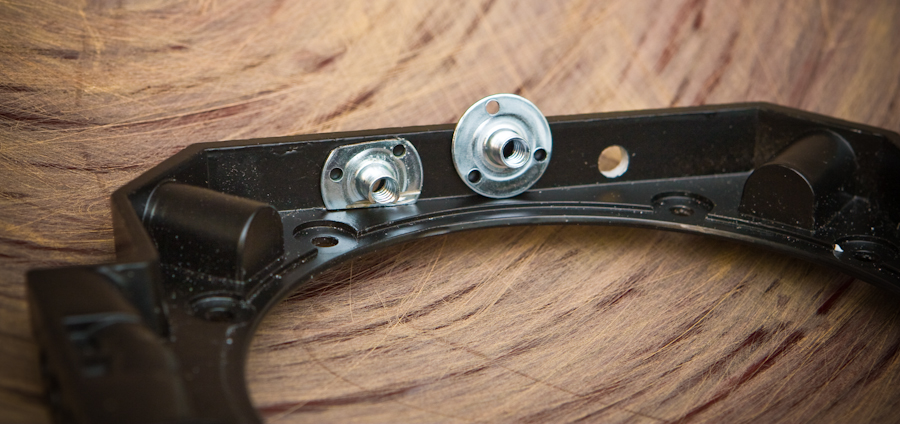
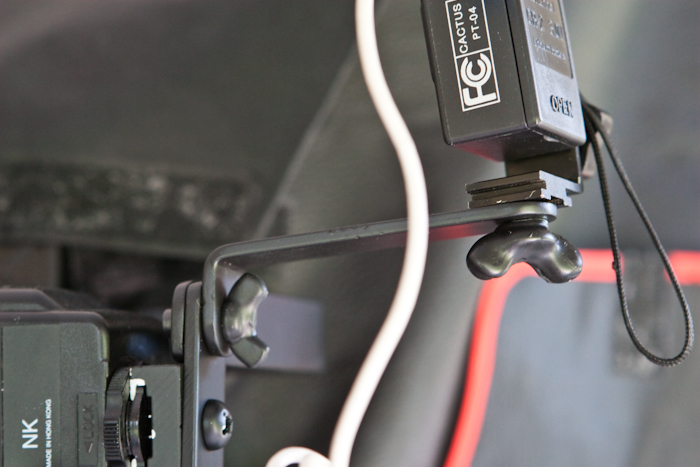
I wanted the brackets to be easily disassembled so I used wing nuts/screws all around. First I needed to find a way to attach the speedlite brackets to the softbox bracket. There were already two small holes along each side so I just enlarged them. Then I roughed up the inner side of the bracket around those holes to give the epoxy something to stick to, trimmed the T-nuts (not the claw/spike kind), then epoxied them in place.

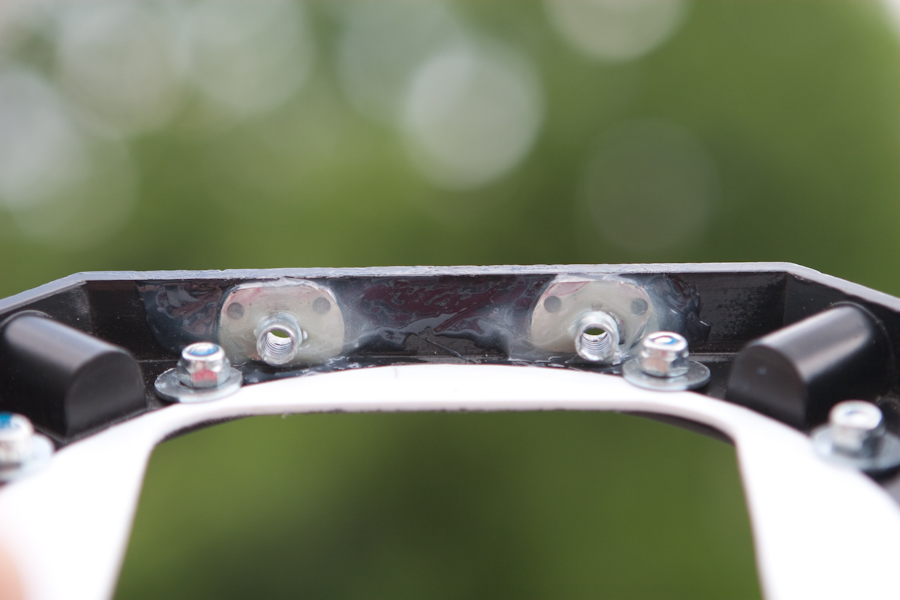
Unlike my single speedlite version, the speedlites are no longer anchored to the middle circle part (the white styrene) so I used a thinner piece that was easier to cut. This piece is just to block excess light leakage. Again, I covered the back in gaffer’s tape for a nicer look.
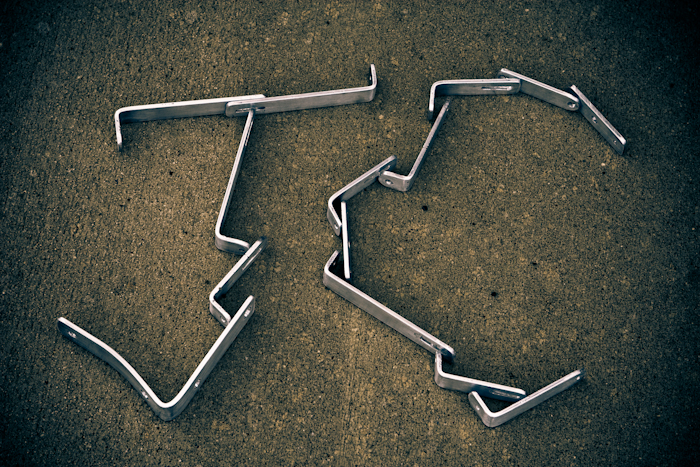
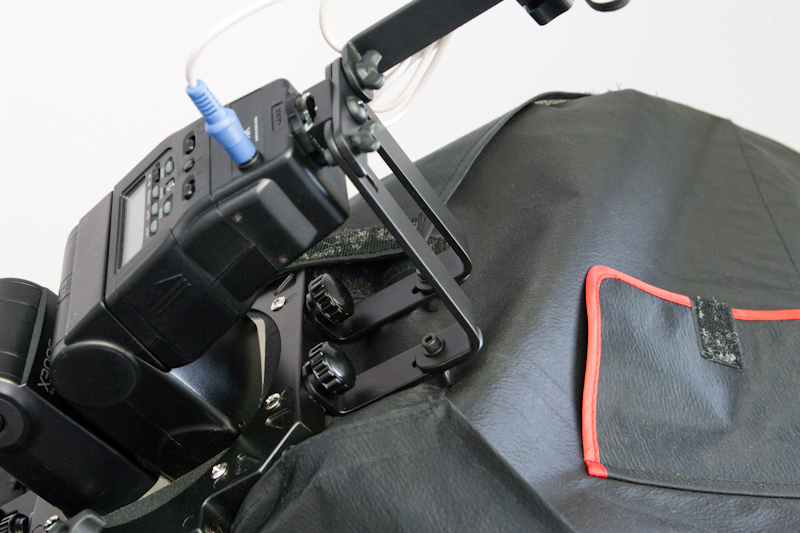
With the nuts epoxied in place it is now possible to use just a thumbscrew to attach the speedlite brackets. I made my brackets with a slot in one end for adjustability so that any speedlite could be used. I don’t have measurements of each piece so you’re on your own here. Just hold your speedlite in the position you want it and map out the lengths. It’s all right angles and straight lines so it shouldn’t be too hard. To make the slots I drilled a hole at each end, anchored the bracket to a table, then used a rotozip to rout a straight line between the two drilled holes. After that, I used a small file to make the line straight and large enough to fit the bolt body.
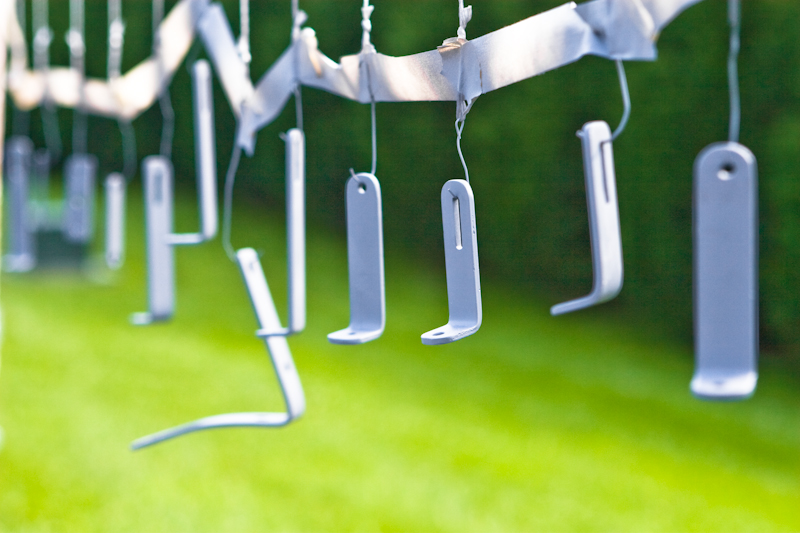
To prime and paint them I used a background stand covered in plastic as a paint rack. Use multiple light coats for good even coverage. You may think a thick layer of paint is more durable but it’s actually more prone to chipping so only paint enough to reach the color you want.

Once it’s painted, bolt it on! For a more “professional” look, I dipped my wing nuts in black Plasti-Dip (several times). I think they look and feel much better.
UPDATE: I’ve since changed this softbox mount to accept an Elinchrom RX Quadra strobe instead of speedlites so I have no use for this bracketry. If you’re interested in it, let me know!

Leave a Reply