If you don’t have the luxury of a “voice activated light stand” when using off-camera flash, then sand bags are often a necessity, especially when working outdoors. I knew I could make a better sandbag for a lot less than what’s out there, so I did! I also wanted a specific color webbing handle so I created the pattern then had Strapworks.com make me some custom webbing. Pretty sweet, eh? The main material is 1000D Cordura, which is tough as hell, and it’s sewn with #69 bonded nylon mil-spec thread. If you don’t have this thread or your machine can’t handle it, use a heavy duty thread like upholstery thread. I used “washed play sand” from Lowes/Home Depot. One bag of that will provide more than enough sand to complete two of these sandbags.
I always over-engineer my creations, and this was no exception. I made it in a way so that the weight of the sand is supported by the super tough Cordura fabric, and not a seam. However, this made assembly more difficult. The material also got quite thick in spots so I don’t know if a standard domestic machine can handle it. Feel free to try it and report back. If you want a tutorial that’s a little easier to sew, Dale Murray has a nice one. My bag is very similar to his except the sand in mine is inserted at the center instead of the ends. Don’t take this as meaning his is inferior. I don’t think he has ever had a problem with that design, I just wanted to do everything I could to prevent a seam from popping.
In this how-to I will refer to the “right side” and “wrong side” of the fabric. The right side is the outside, the part you see when the product is completed. The wrong side is the inside.
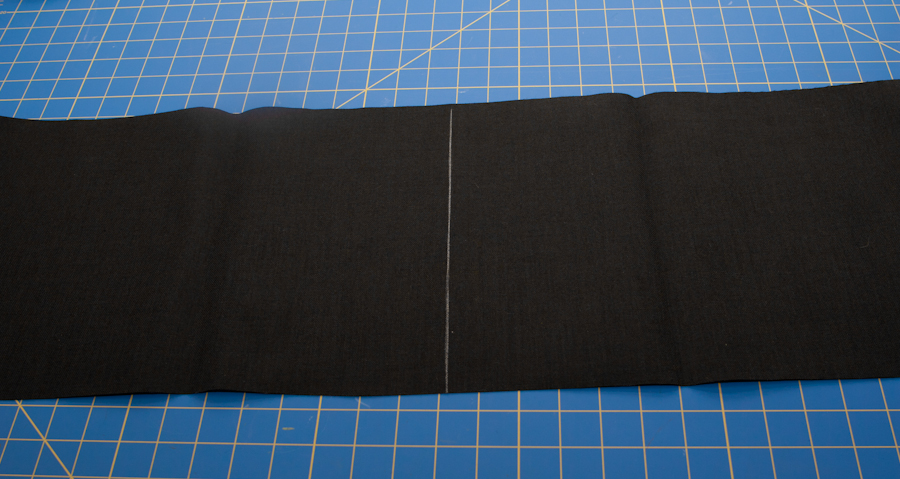
1) Start off with a piece of Cordura about 37″x11″, fold it in half (short end-to-short end) to find the center, then mark it on the right side with something temporary; I use chalk.
2) Then hem each of the short sides. You could also bind it, instead of using a hem: more on that later.
3) Bring the two short edges together so that the wrong sides are showing, meeting at the middle (this is where your mark from step one comes in handy). Sew along each long edge while keeping everything as square as possible. I used a 1/4″ seam allowance.
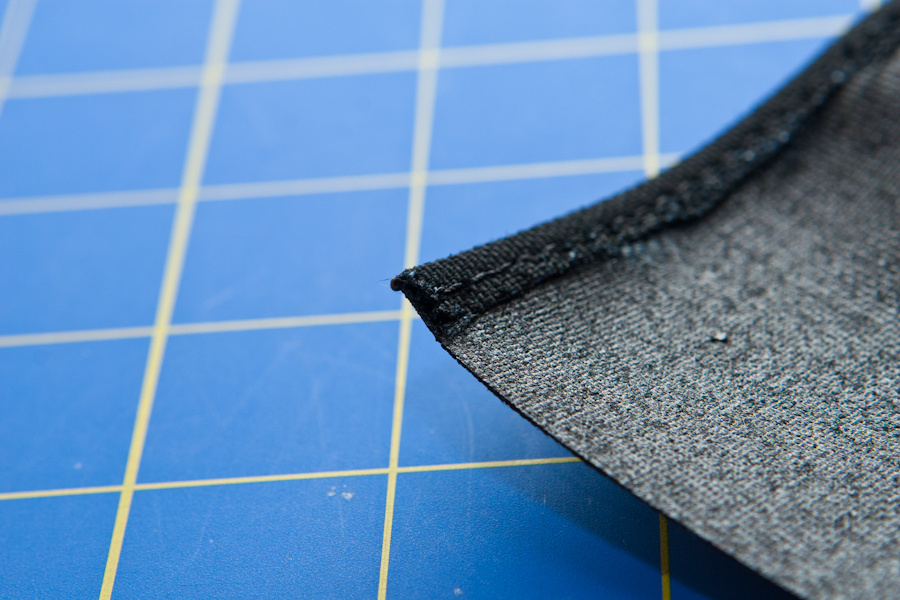
4) Now “bind” the seam you just sewed. This is where a piece of 1″ webbing is sewn around the edge of the fabric. This creates a more durable seam by adding a second row of stitches and protecting the fabric edges from fraying. Speaking of fraying, always melt the raw ends of webbing/ribbon. A lighter works well for this. Normally I use mil-spec 5038 webbing but for this tutorial I used grosgrain ribbon, which you can get at any fabric store. It’s not as durable as the webbing but it gets the job done. If you don’t have a “binder attachment” for your sewing machine, this part can be a little tricky. You have to make sure you catch each edge (top and bottom) of the binding with your stitches. If it gives you trouble, hot glue it in place, then sew it. Leave a little “tail” at each end.
5) Fold each “tail” over and double/triple-stitch it down.

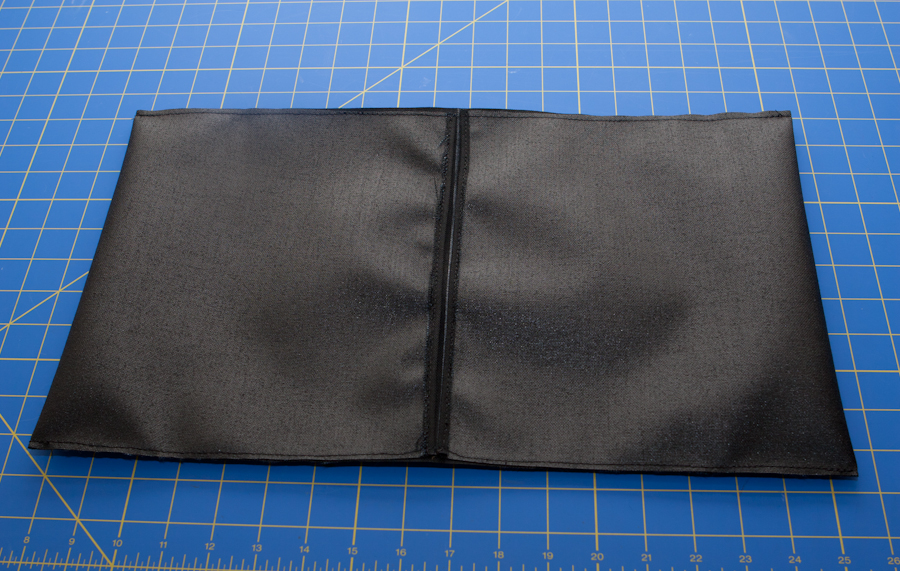
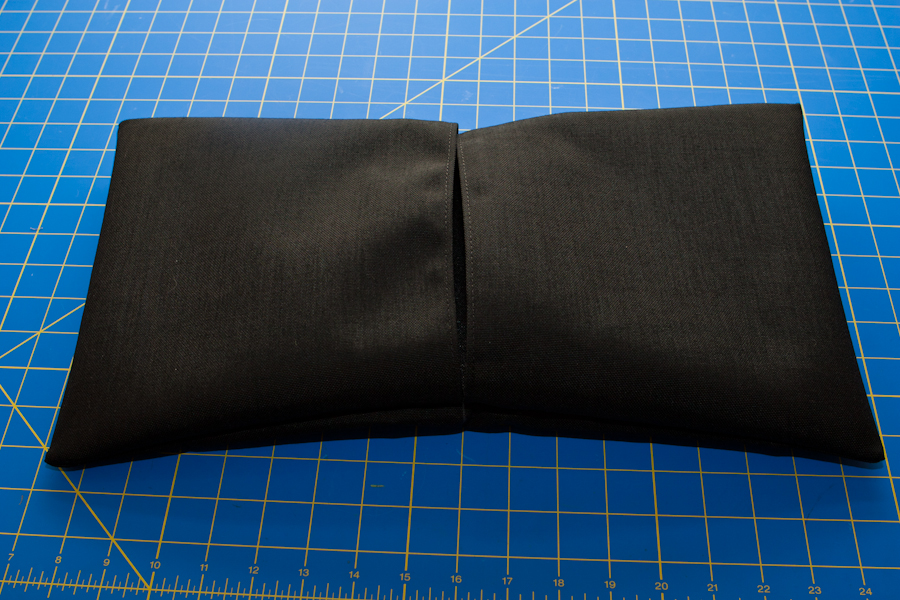
6) Turn the bag right-side out. It should look like this, with the opening in the middle.
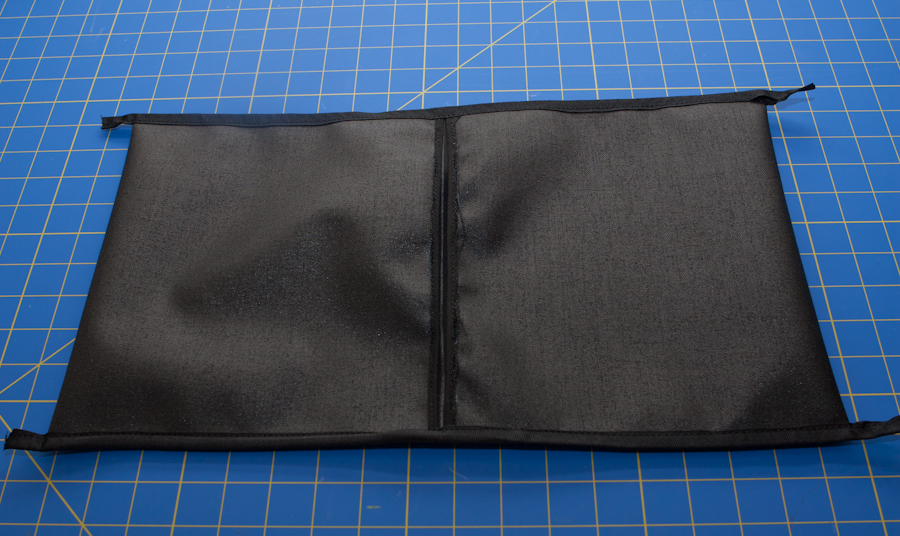
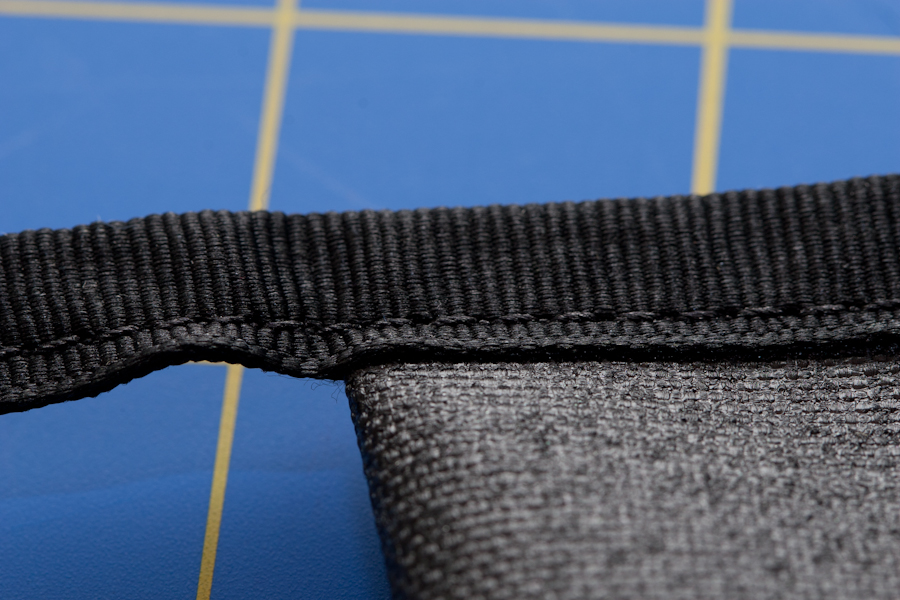
7) At each end of the opening, flatten the material and sew a 2″x1″ square. This makes it easier to sew on the handle.

8 ) Now it’s time for the webbing. The majority of it is on top of the bag but each end of the webbing extends under the bag about 2″. Dale Murray has a diagram that shows this. To prevent any slipping and to make sure the stitching went through the top and bottom layer of webbing evenly, I hot-glued it in place. Then sew a box-X and triple stitch the part closest to the handle portion.
From the Army Field Manual 10-16, General Fabric Repair, here’s how to do a box X (I added the red dot to help clarify where to start). When it’s done, each short end will have been double stitched:

Mine got a little sloppy but I was rushing, and ran out of bobbin thread half way through…

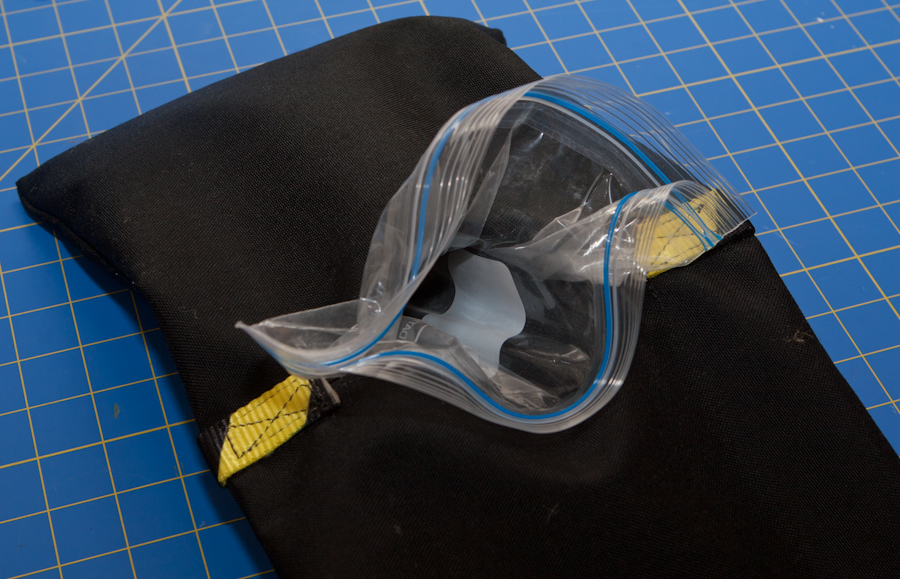
9) Stick a gallon size Ziploc freezer bag into one of the ends of the bag and fill it with sand. A small cup makes transferring the sand easy and mess-free. The size of this sandbag will hold about 7.5 lbs. of sand per side. Once it’s full, seal the Ziploc bag and tuck the excess inside the sandbag.
10) Now run a stitch from one side of the sandbag to the other, sealing off the compartment. This step is a little tricky as you have to make sure the sand and Ziploc bag stay out of the way from the top while making sure the handle loop stays out of the way from underneath. Don’t worry if your stitch line is a little crooked, just make sure you seal the pocket off completely. In the photo below, this step is the left-most diagonal row of stitches.

11) Repeat steps 9 and 10 for the other side.
12) You’re done! Start shooting!

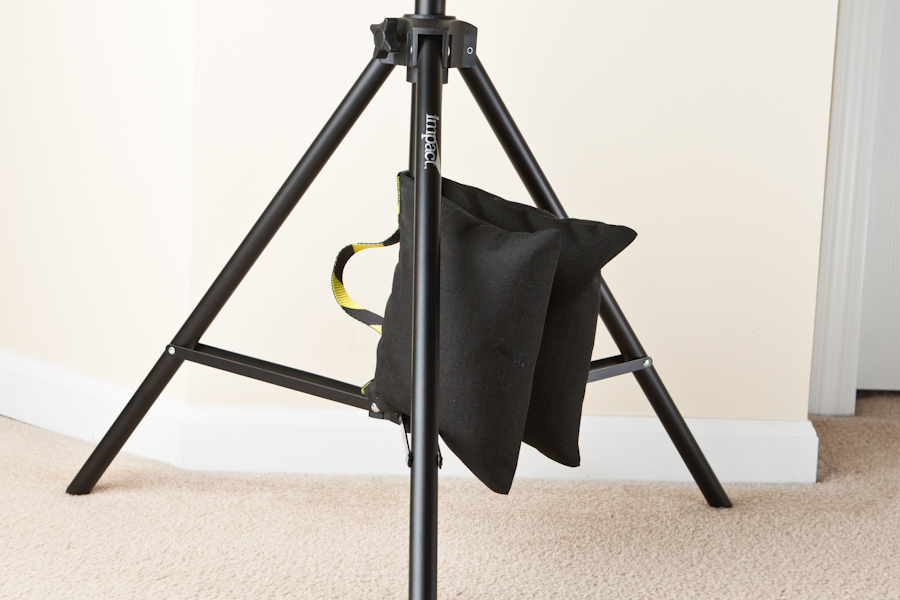
On a collapsible stand I position the sandbag like this, with the bulk of the bag opposite the light modifier:
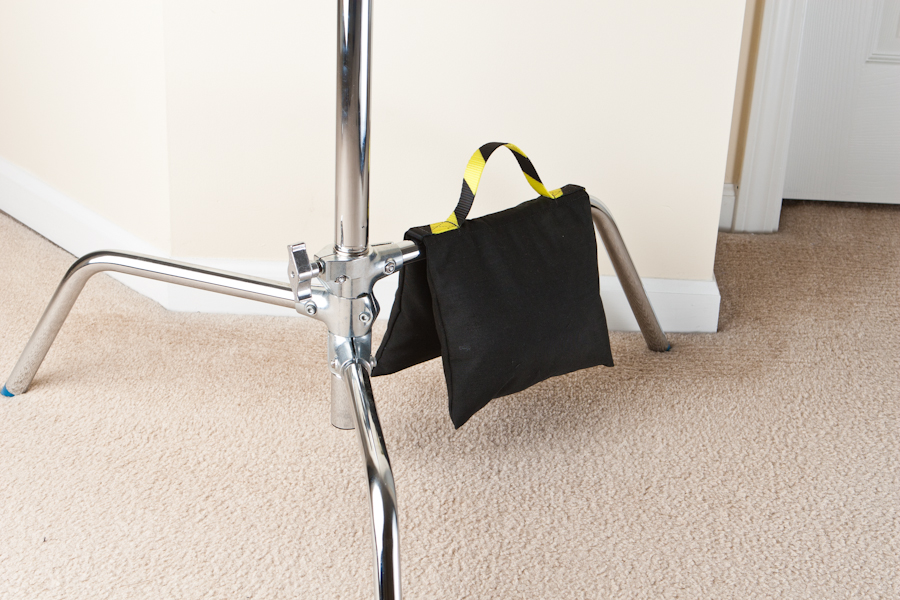
On a C-stand:

Leave a Reply