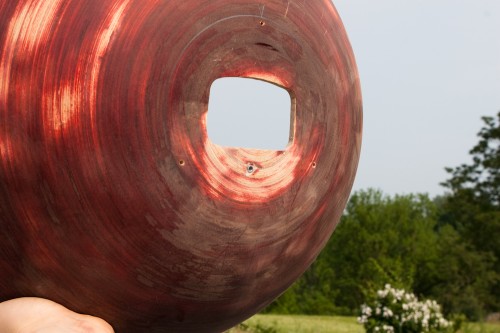
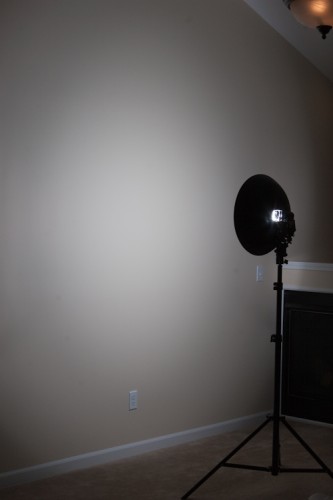
I recently upgraded to Elinchrom strobes but speedlights will always have their place. This post is long overdue as I built this beauty dish over a year ago… In an effort to make my speedlites as versatile as possible, I thought a beauty dish would be a nice addition to my collection of light modifiers. The hardest part of this project was finding a suitable bowl for the dish. I found an 18″ wooden bowl at a Ross/TJ Max-type store. I would’ve preferred something a little larger but it was all I could find. It performs better than I expected. If you want something a little larger, halfway through the project I found one: a 30 qt. stainless steel mixing bowl, which can be had for about $20 online.
Materials used:
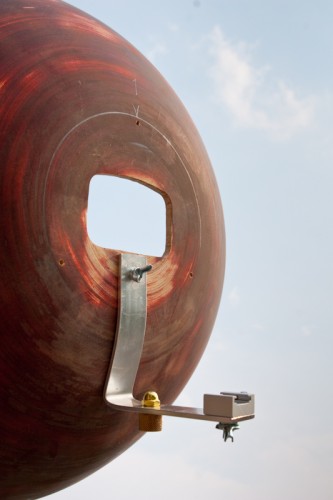
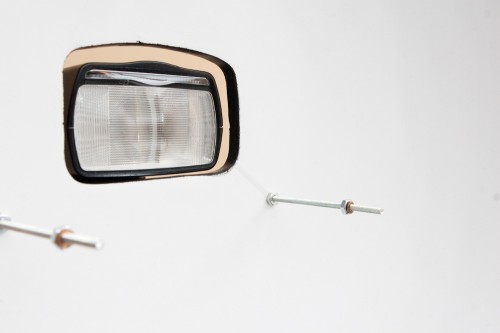
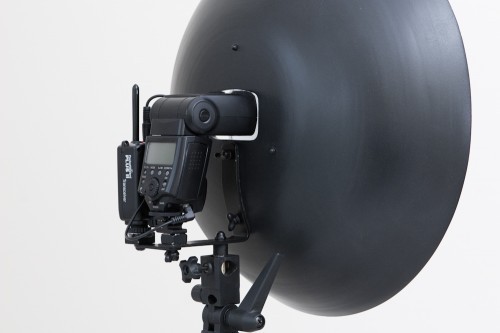
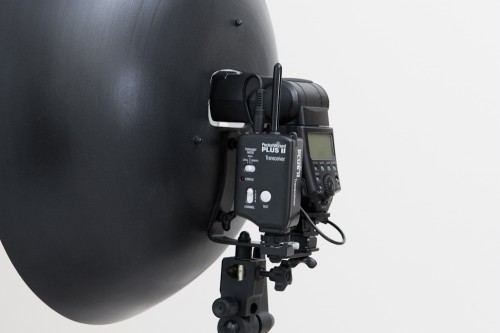
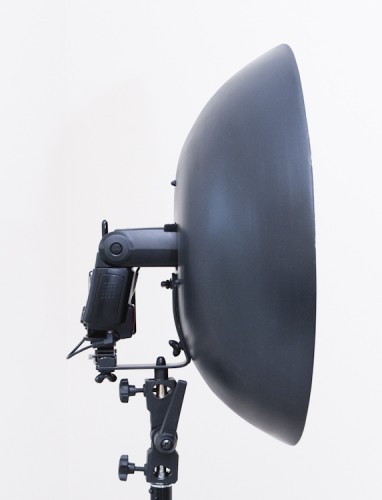
The bowl I used had concentric ridges all over so to start, I sanded it smooth, front and back. I then drilled three small holes for the mirror standoffs. These holes form a centered triangle with roughly 5″ between each point. In the center of the triangle, I cut out a hole for the head of my speedlite. Once you have the speedlite hole you can start working on the bracket. It’s just a basic “L” with a curve on one side that matches the bowl. On the side of the bracket that touches the bowl, I put a strip of adhesive rubber to help cushion, conform, and prevent scratches. To attach the bracket to the speedlite, I used T-nuts and thumb screws so that it could be removed for easy storage/transport. The spiked T-nuts attach from the front side of the beauty dish. To make it look as nice as possible, I recessed the T-nuts then covered them with wood filler and sanded it smooth before I painted. That way they’re completely invisible from the front.
To attach the bracket to a light stand, I used a little socket/spigot piece that came on one of my Manfroto 001B Nano light stands. I used a cap nut to secure it to the bracket. Then I just use a standard swivel bracket/umbrella adapter with spigot to screw into this socket. To hold a speedlite, I used a cold shoe (I prefer the clamp style).
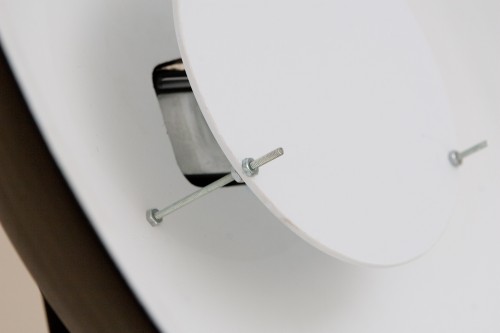
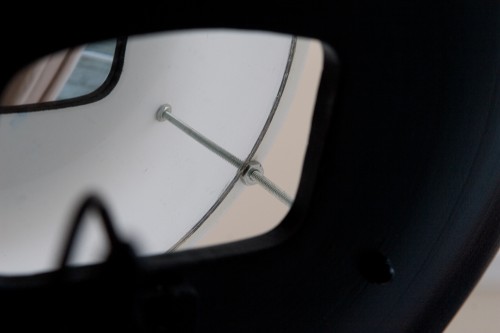
The heart of a speedlite beauty dish is the deflector. I used a 5″ convex mirror for maximum output, which I got from an auto parts store. I removed the actual mirror from the plastic holder and epoxied it to a circular piece of styrene/plastic. The styrene was cut slightly larger than the mirror, just large enough for a small bolt to pass through and nut to fit without hitting the mirror. The mirror needs to be spaced away from the flash head and for these standoffs, I used the thinnest bolts I could find so they interfered with the light as little as possible. They’re actually allthreads, about 3″ long, that [I think] I found at Home Depot. Since they’re allthreadds (no bolt head), I used cap nuts for the rear and nuts everywhere else (three for each standoff). Use one nut to lock them onto the bowl, then another nut to give the mirror some space, and one final nut to lock the mirror on. After lots of testing, a space of 1.75″ between the bowl and styrene gave me the best results. Zooming the flash output in and out didn’t make much of a difference. Zooming in to 105mm produced a very slightly hotter center.
I also added an extra flat piece of aluminum near the speedlite cold shoe so I could attach a radio receiver via another cold shoe. All bracketry, and the rear of the bowl was painted semi-gloss black. The inside of the bowl was painted white. I coated the thumbscrews in black Plasti-Dip to make them look a little nicer.
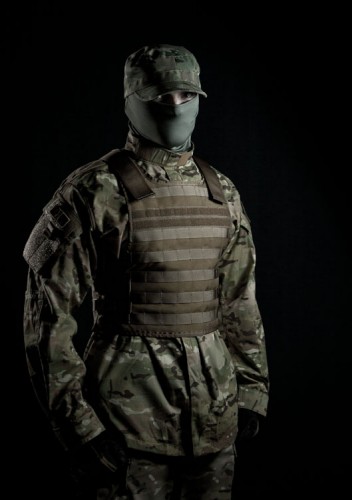
The output is very soft with a smooth falloff. I couldn’t be happier with the results considering how little I spent on this project.
I made this portrait of my friend, and fellow photographer, William, for an article in the school paper about elections. The beauty dish was camera-right and the sun was behind and to the right of William.


Leave a Reply